Creating a WooCommerce account
Creating a WooCommerce account Go to the WooCommerce website https://woocommerce.com/: and press ‘Log in’ in the top right corner of…
More details

Share this post:
In this guide, we will be discussing how to add variable products with attributes in WooCommerce. To do this, you will need to sign into your WordPress Admin panel. If you are unsure how to access this and you are an existing client of ours, please contact our Support team on support@sitewizard.co.uk
If you are struggling with your WooCommerce site, or are looking to get a new and improved online shop, find more information here or contact our team on 01622 200 045.
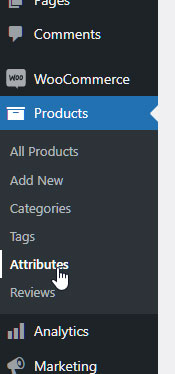
Not all products will require attributes, but if your store sells products that have different variations (for example, sizes and colour types), then you can create them by going to Products > Attributes:
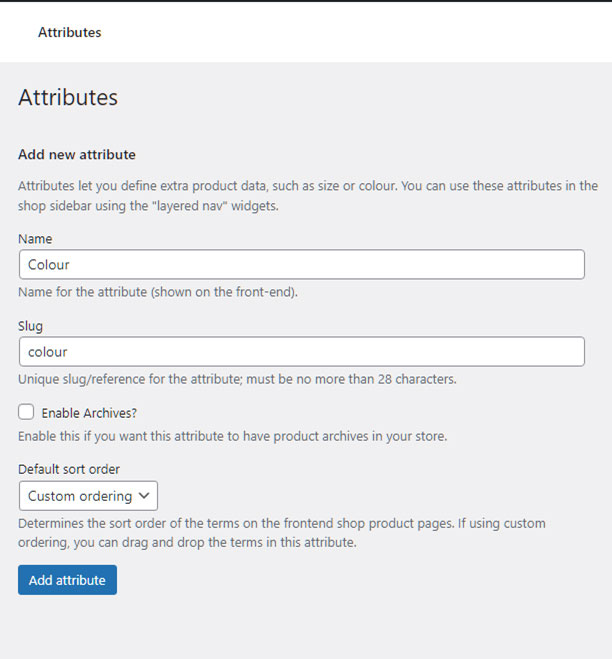
You can now create the Attribute Name, Slug, and select the Default Sort Order. The Slug is part of the link/URL, for the purpose of this guide, we will set the Attribute Name and Slug to be the same.
Once the Attribute has been created, you can begin adding Attribute Values to the Attribute. This is where we will add the types of Colours for our products. To add the Attribute Values, click on Configure Terms next to the Attribute.
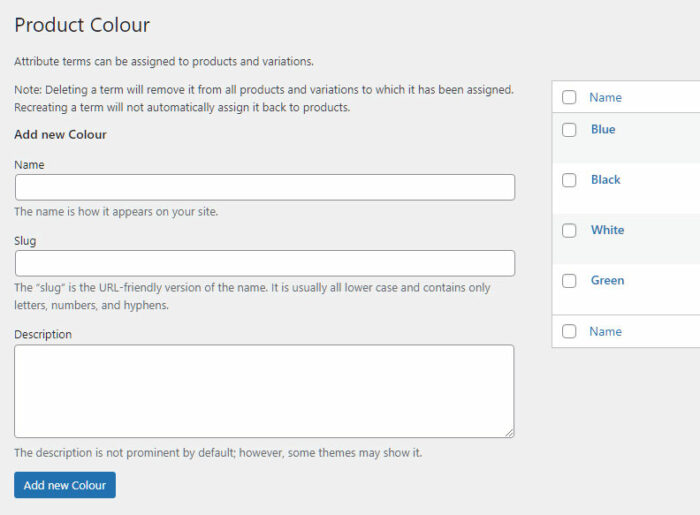
We can now add all the Attribute Values we need for the Colour Attribute. Like the Attribute Name, we will add a Name and a Slug.
Continue adding the Attribute Values until you have added them all.
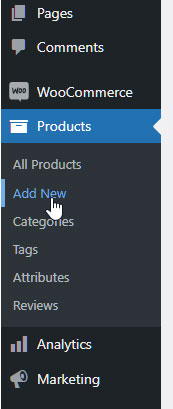
Now that the store wide attributes have been created, we can begin setting up the product. To begin creating your Product, click on Products > Add New.
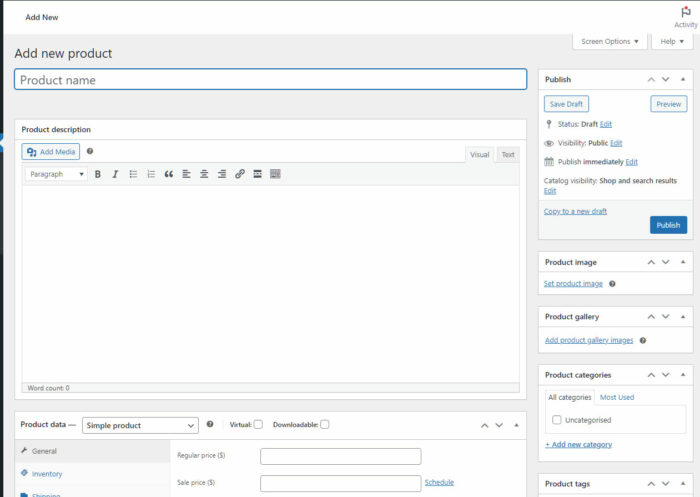
This will then take you to the Product Editor where you can add all the information about your product.
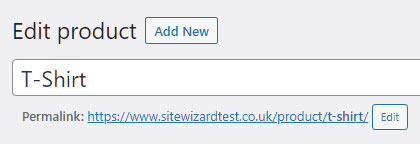
Here we can set the name of our product, for the purpose of this guide, we will name our product ‘T Shirt’
Once the product name has been entered, the Permalink (Direct URL/Link to the product) will automatically be generated from the product name. If you wish to change the permalink, you can do so by pressing the Edit button.
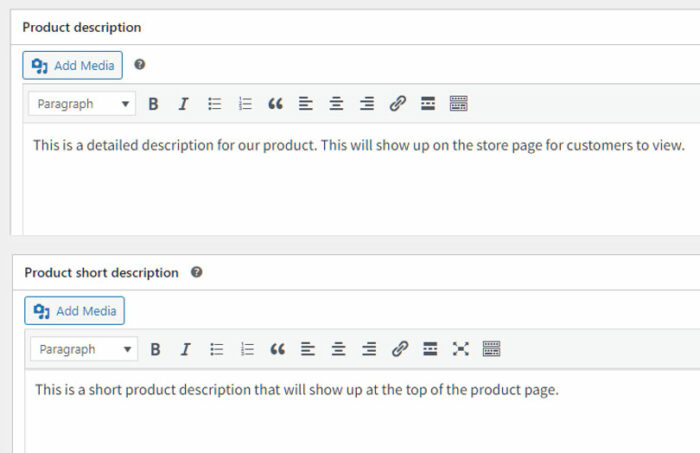
There are 2 description boxes, Description and Short Description. ‘Description’ will be where the detailed product description information will be added, this will normally appear on the product page under the Description tab. The Short Description will instead be a 1-2 summary of the product, this will normally appear at the top of the page under the product name.
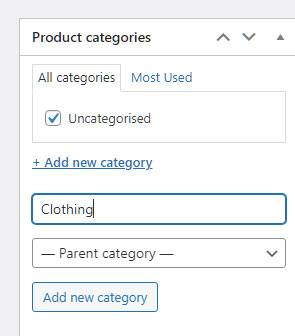
You can select the Category that this product belongs to on the right Under Product Categories. If no categories exist, click Add New Category, type in the name of your new category, and then select the product to be in that category.
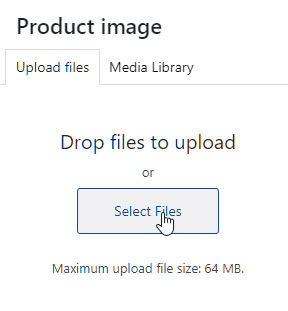
The image for your product can be added on the right, under Product Image. To add an image, press ‘Set Product Image’.
Once the image has been uploaded, select it and press ‘Set Product Image’.
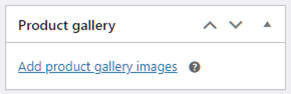
You can also add additional images, that will appear in a gallery form below the primary product image. To do this, press Add Product Gallery Images, and follow the same steps as above.
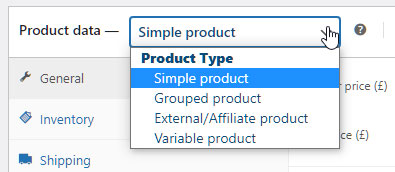
For this guide, we will be selecting the Variable Product. A variable product is a product that has different variations, often with a different Stock Keeping Units (SKU), price, stock, and options. For example, a T shirt that is available in different colours and sizes. To choose Variable Product, change the dropdown next to Product Data to Variable Product.
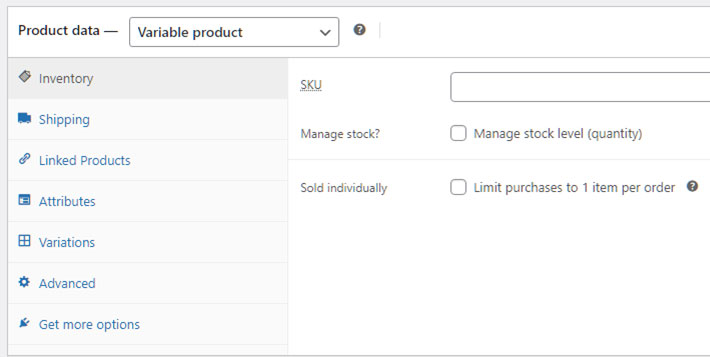
The Inventory tab is where you can set the product SKU and stock levels. Please note that if your SKU’s and stock level are at a product variation level, this section can be skipped.
On the shipping tab, you can add the weight and dimensions of your product. This may be used to calculate shipping costs and display on the product page. As with the inventory tab, this section can be skipped if you are adding this data at a variation level.
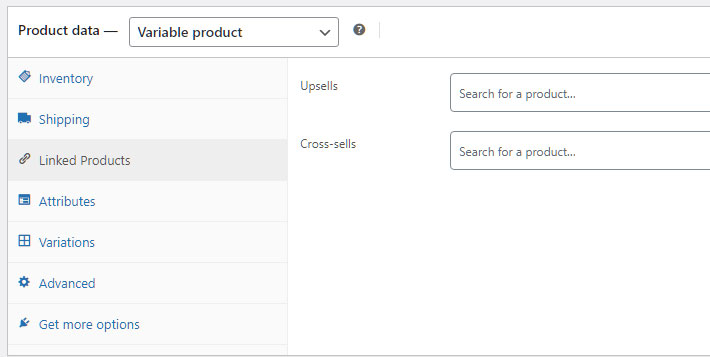
Linked is where you can set up your related products. Upsells is other products that you may recommend instead of the current product, such as a more expensive, but better alternative. Cross-Sells is where you can promote similar products that may be purchased with the current product.
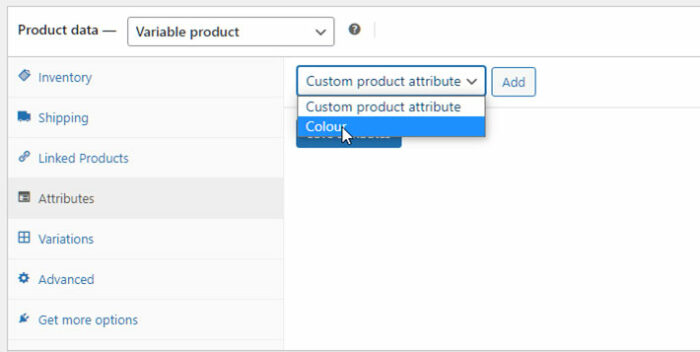
The attribute tab is where we can begin adding the attributes to our variable product. Click the dropdown and select the attribute(s) you have created, and press Add. In this guide, we have created a Colour attribute.
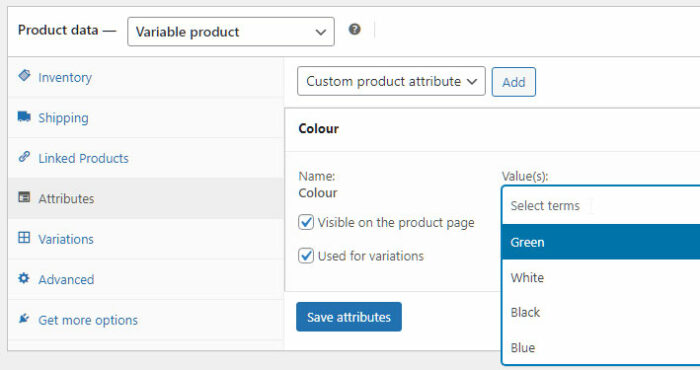
As the attributes we created earlier are store-wide, we can now select the attribute values that are relevant for this product, as not all attributes or attribute values that you have created will be used on all your products. Select each attribute value you wish to use in the Value Box. Check the ‘Used for variations’ checkbox, as we will be creating variations for all the different T shirt colours.
We will complete the variation configuration on the next step
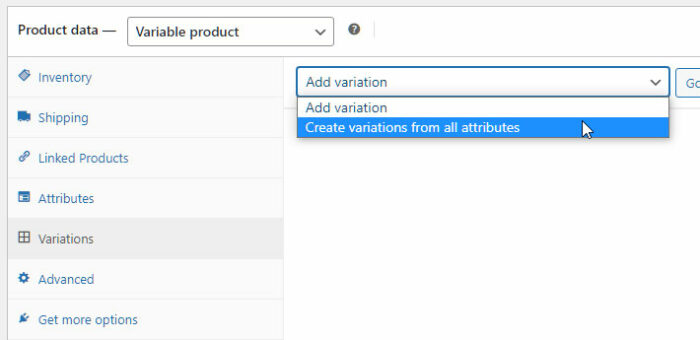
Lastly, we will need to generate all the variations using the attribute and attribute values we have added. On the Variation tab, select the Add Variation drop down and select ‘Create Variations from all attributes. This will create a variation for each attribute we added in the previous step.
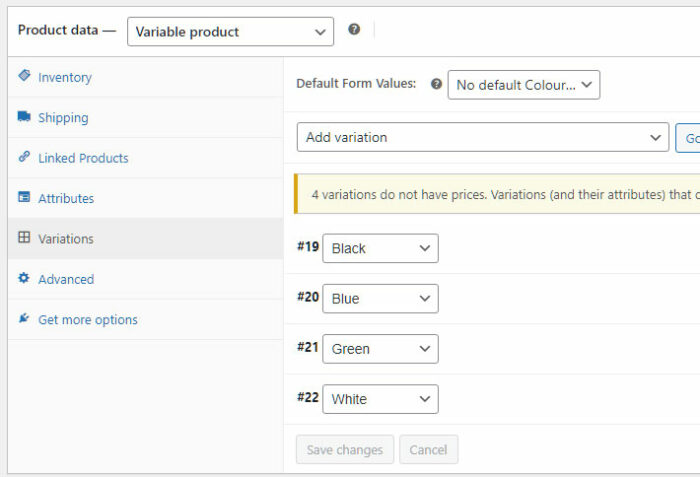
When all the variations have been added, they will then display in a list:
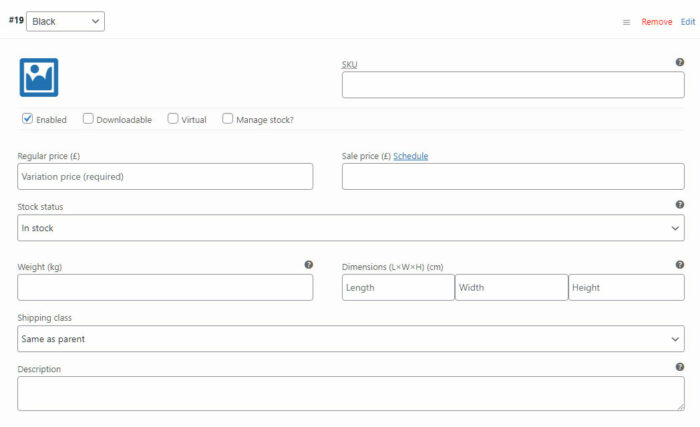
Click each variation to expand the variation box, and you can then add any product data that is unique for this variation, such as if each variation has a different SKU, price, size etc.
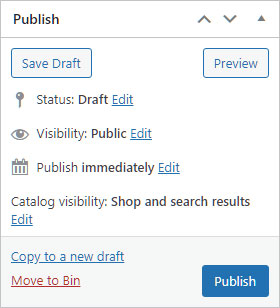
When you have added all the necessary information to your product, you can publish it to your store by pressing the publish button on the right-hand menu. Once published, this product will be accessible to your customers.

Creating a WooCommerce account Go to the WooCommerce website https://woocommerce.com/: and press ‘Log in’ in the top right corner of…
More details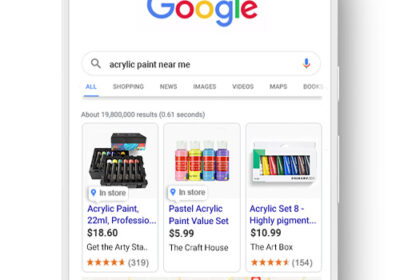
We are excited to announce that SiteWizard has teamed up with Pointy from Google to offer our clients an easy…
More details